
Autofocus has gotten absurdly good. Between face detection, subject tracking, and AF that locks onto animals, planes, or even trains, modern cameras often feel like science fiction compared to DSLRs of the early 2000s. You can hand a mirrorless body to someone who’s barely touched a camera, and it will produce usable shots in conditions that used to make pros sweat. But autofocus isn’t infallible, and it never will be.
There are situations where the algorithms fall apart, where the subject is too fine, too faint, too obscured, or too unpredictable for the computer to lock on reliably. That’s when manual focus steps back into the spotlight. Here are five situations where manual focus is still the smarter choice, and why even the most AF-dependent photographers should keep the skill sharp.
1. Macro at High Magnification
Macro photography is a torture test for depth of field. At 1:1 magnification, your plane of focus can be fractions of a millimeter deep. Autofocus systems, even the most advanced, struggle to find stability in such razor-thin slices. The result is hunting, overshooting, and constant micro-adjustments that cost you time and often miss the mark.
Manual focus gives you deliberate control in these conditions. Instead of waiting for AF to lock, you can dial in the exact plane of focus you want, whether it’s the leading edge of an insect’s compound eye, the delicate surface texture of a petal, or the tiny engraved detail on a coin. For subjects that don’t move much, you can even refine by using live view magnification and focus peaking, confirming at pixel level before clicking the shutter.
The other advantage is predictability. Autofocus might pick a part of the subject that’s technically “sharp,” but not what you intended, say, the abdomen of an insect instead of the eye. Manual focus guarantees you’re in command of that decision. When you’re dealing with depth of field this thin, intent matters more than speed.
Bottom line: At macro magnifications, AF is too twitchy to trust. Manual focus puts you in charge of razor-thin planes where precision is everything.
2. Low-Contrast Low Light
Autofocus isn’t magic. It needs information to work with. But the type of information depends on the system.
Phase detect (PDAF) doesn’t “hunt” the way contrast-detect does. Instead, it splits incoming light into two beams and compares their phase. If the images are offset, the camera knows immediately whether you’re front- or back-focused and by how much. In theory, this means PDAF can work even on something like a mostly flat gray wall, as it doesn’t care about absolute sharpness, only the alignment of patterns between the two beams.
 But here’s the catch: PDAF still needs spatial variation. If the subject has zero texture, or if the pattern runs only in one direction that doesn’t match the AF sensor’s sensitivity, the system can’t measure a phase difference. That’s why early DSLRs had separate AF modules with “line-sensitive” points (vertical or horizontal only), and why cross-type sensors—sensitive in both directions—were such an upgrade.
Contrast detect (CDAF), by comparison, has no sense of direction or distance. It just drives the lens back and forth until contrast peaks. This works on most any pattern but is slow, and on a flat or dim subject, it often hunts endlessly.
Modern mirrorless cameras muddy the water further because they use hybrid AF. Often, PDAF points on the sensor get you in the ballpark quickly, and then contrast detect fine-tunes sharpness. It’s a tag-team system: one provides speed and direction, the other provides precision. But the weakness is shared: if there’s no usable texture or light, neither has data to work with.
In real-world low light, this shows up as hesitation, hunting, or flat refusal to lock. A candlelit dinner table, a foggy street, or a black-clad performer in a dim theater doesn’t offer enough clean edges in the right direction for PDAF to measure reliably or enough brightness for CDAF to confirm.
 Manual focus bypasses the problem. With live view magnification and focus peaking, you can deliberately set sharpness where you want it, even when AF would rather throw up its hands. For still subjects, it’s slower, but it’s sure.
Bottom line: PDAF doesn’t need contrast in the “sharpness” sense, but it does need edges and patterns in the right direction. In real low light, those cues often disappear, and that’s when manual focus becomes your safety net.
3. Video Focus Pulls
Video is where autofocus reveals its biggest weakness: repeatability. In stills, all you need is sharpness at the decisive moment. In video, you often need to guide the viewer’s eye by racking focus smoothly from one subject to another at the exact speed and timing that fits the scene. Autofocus can’t anticipate your intent; it reacts, often with tiny hesitations or sudden jumps that look sloppy onscreen.
Manual focus, on the other hand, is programmable in the most human way: by your hand. With practice (or with tools like follow focus rigs), you can pull focus between subjects smoothly, consistently, and exactly when you want. This is why even Hollywood productions with the best AF tech available still employ dedicated focus pullers. AF is a convenience; manual focus is a craft.
There’s also the issue of trust. Autofocus in video sometimes “breathes,” shifting slightly even when the subject hasn’t moved. This micro-adjustment is invisible in stills but distracting in motion. It screams “consumer footage.” Manual focus eliminates that wobble, locking your plane until you choose to move it.
For hybrid shooters, the lesson is simple: if the job involves serious video, you need manual focus chops. Even if you lean on AF for run-and-gun B-roll, any intentional, cinematic sequence will demand manual pulls. It’s not nostalgia. It’s control.
Bottom line: In video, autofocus reacts while manual focus directs. If you need consistent, cinematic pulls, manual is non-negotiable.
4. Shooting Through Glass or Mesh
Every photographer has faced it: an aquarium, a zoo enclosure, a fence around a sports field, or even shooting through a window. Autofocus almost always does the wrong thing in these cases—it locks onto the barrier instead of the subject behind it. AF doesn’t know what you’re trying to prioritize; it just sees contrast and grabs it.
Manual focus lets you bypass the distraction and lock precisely on what matters beyond the barrier. With practice, you can even combine it with aperture discipline: shooting wide open to blur the glass or mesh so it effectively disappears. Without manual control, you’re at the mercy of AF’s guesswork, which usually prioritizes the wrong plane.
It’s not just fences and glass, either. Shooting through foreground elements like branches or leaves can confuse AF systems. Manual ensures you place focus on your intended subject, not the nearest distraction. Manual guarantees you’re photographing the subject, not the obstacle.
Bottom line: When there’s a barrier between you and your subject, autofocus guesses wrong. Manual focus lets you punch past distractions and control the story.
5. Astrophotography
If you’ve ever tried to autofocus on stars, you know the futility. Stars are tiny point light sources with no edges, no contrast for AF to calculate. Even with modern cameras that boast –6 EV sensitivity, autofocus on the night sky is essentially a coin flip. It might lock on a bright star or planet, but more often it hunts endlessly or locks incorrectly.
 Manual focus is the standard here. Astrophotographers routinely switch to live view magnification, point at a bright star or planet, and carefully turn the focus ring until the point is as sharp and small as possible. Some use Bahtinov masks (special diffraction filters) to confirm exact focus, but all rely on manual adjustment. Autofocus simply isn’t built for this environment.
The same applies to wide-field landscapes under the stars. AF may manage to lock on a distant horizon line under twilight, but once true darkness falls, it won’t hold. Locking focus manually to infinity (often slightly before the lens’s hard stop) ensures stars and distant silhouettes stay sharp throughout the exposure.
 Manual focus also prevents accidental drift. If you rely on AF in night work, every recomposition risks losing the lock. By setting manual once and taping the focus ring if necessary, you guarantee consistency for hours of exposures.
Bottom line: For the night sky, AF is useless. Manual focus is the only path to sharp stars and reliable astrophotography.
Conclusion: Autofocus Isn’t Omnipotent
Autofocus is astonishing technology, and it’s the right choice most of the time. But blind faith in AF is a crutch. There are still many scenarios where it will fail or produce the wrong result. In those moments, manual focus isn’t nostalgia; it’s professionalism.
Every pro should practice manual focus as a skill, not just a backup. Because when AF falls apart, your ability to command the image directly is what separates you from the machine.


Very well put on most all accounts. First you have to point out how there are more ways/modes that one has to be aware of and plan with mode you should use after reading about five pages of a 600+ page book on the camera talk about dizzy and need for a big board with print and pictures as well as your handy phone/pad.
Well Macro today has improved some where the camera now can do Focus Stacking or Focus Bracketing but also this can be used in Landscaping to get close subject and far all in focus BUT needs that extra post work.
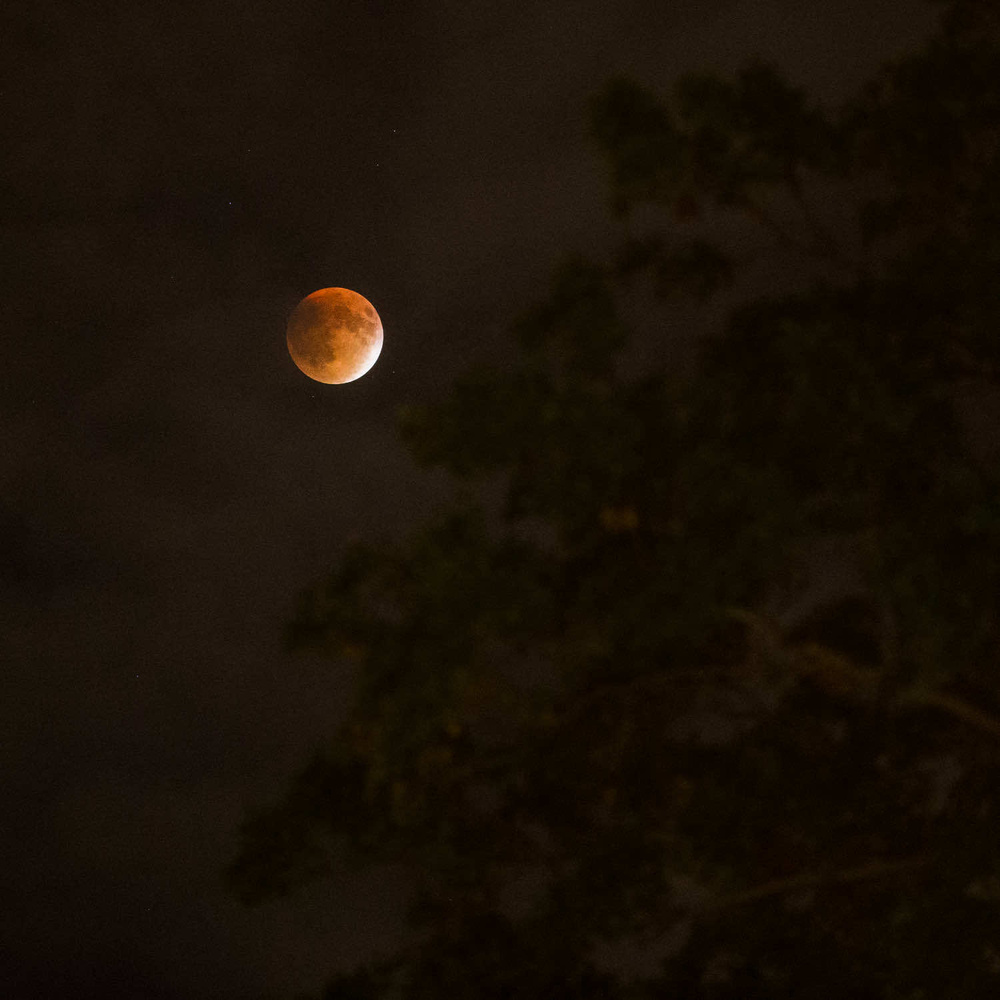
As far as night focus is way different than day focus. First at night you can be using a lens that is f/1.4 or f/1.8 or even between f/8 to f/11. If you are on say a beach doing MW captures first yes AF will lock on to stars (I do it all the time just to get started) but now you are on infinity or the little emblem for it. in day time you are focused on near but at night you are focused at the nearest thing to the camera like a sea shell or foot print BUT also on the far horizon where you have a lit building it will be in focus so much that in post and at 300 closeup you may even see into some rooms or say a ship on the water (anchored and smooth water) you may see someone on the lit bridge or on the deck, all that with just a start with AF. But you are right MF is best with the 4.5 magnify but most times your focus may cause what looks like holes in the stars a reason to check and magnify the image on your LCD screen. Normal night capture with a f/1.4 or f/1.8 focused on a near object yes you will then there is bokeh balls a star points on lights. Just saying there is a difference between subjects. I forgot your moon capture yes you can do a MF on the moon but I have done 3 lunar eclipses on when 15 degree cold in Ms.in Jan. out in a pasture and one just off my front porch looking over my roof and used AF with the little box reason the moon move real fast in the sky, hard to find a tracker that can hold a camera and 200-600mm lens, but at it's peak you are on your back looking almost straight up, do it from a table and being in a chair, manual tracking and keeping the moon in frame most times it is out of frame and with the just before and just after peak you will be doing bracketed captures (a reason for a tracker). All in all stay at 600mm to also get stars in each capture easier to manual track.
Just added some for thought, Great write up one you print and put in your note book.
How to spot a fake Lunar eclipse composite, As the moon goes from rise to set it rotates like a clock as clockwise in the northern Hemisphere as it#1
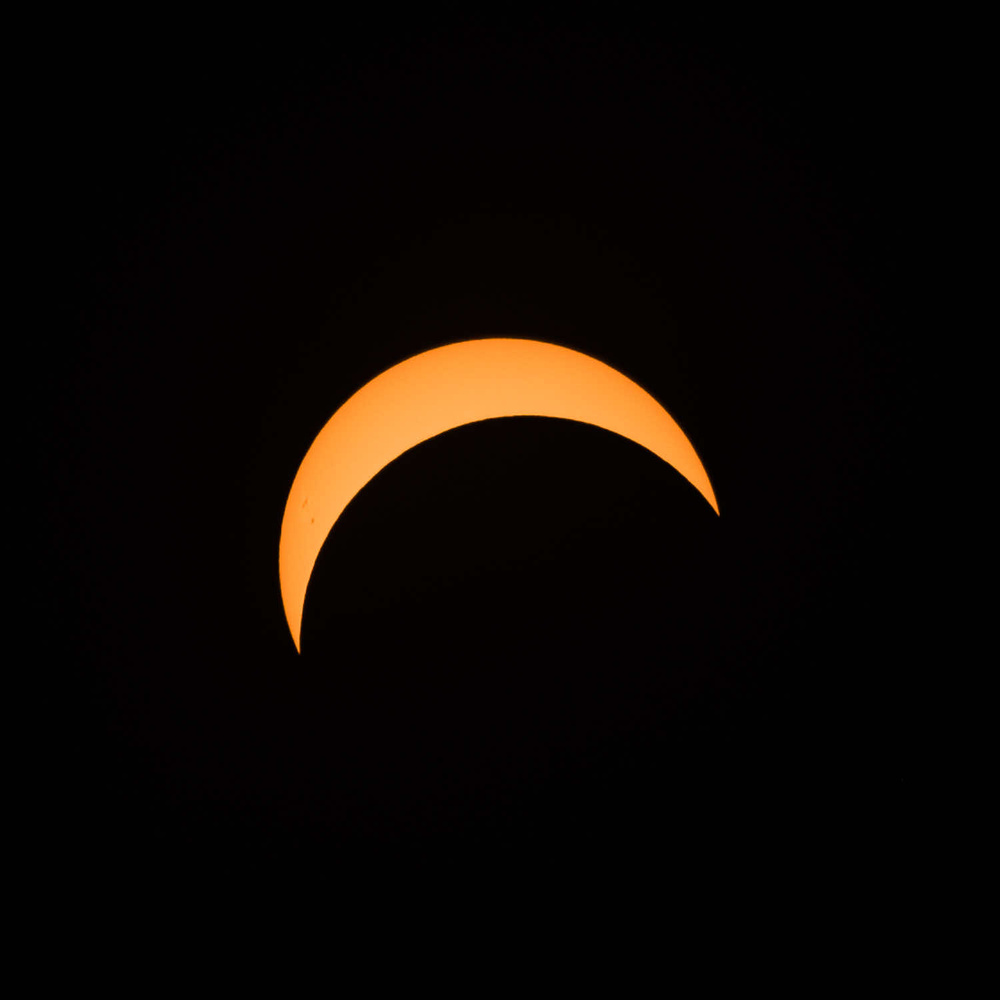
#3 I was coming out my front door and saw the glowing crescent moon got my camera and drove to a good spot and capture the moon and the comet as well a good foreground using FE 24-240mm at 24mm. Just have to ready after sunsets
Any tips on improving at manual focusing? I have a D-750 so no focus peaking just the green dot in the corner of the viewfinder, which isnt very accurate in my experience...
That is such a great question!
I am not able to focus manually, either. Why? Because my eyes and brain can not work together to tell the difference between what is sharp and what is soft when looking through a viewfinder or when looking at a small LCD screen. I can not see what is sharp and what isn't until I get home and view the images on a high res 27" monitor. Even looking at images on a laptop screen I can't really tell what is in focus and what isn't.
So, then, how in the world can someone like me focus manually, especially when using 600mm and 800mm telephotos on moving animals, where depth of field is so extremely thin?
Moving animals are tough, but when they stop, they may pull up their heads and look around. I've had some success with moose, antelope, wild horses and camels. (And a stare down with a fox once.)
In the old days, 50 years ago, of only manual focus, I would pre-focus on a spot ahead of the animal, where it was walking or trotting towards and take ONE picture when they got there. Or work to get into a spot where they were traveling perpendicular to my line of sight. I didn't have a motor drive on my Nikon FTn. If I was lucky, maybe only 2-3 shots with my thumb advance. Usually just one.
Mirrorless cameras, like the most recent Nikon Z cameras, have a button your can program to zoom into the spot your focus. At 100, 200 or 400%, you can get razor sharp focus. I always use that for macro work.
I did a night shot last week. With the touch of one button, I was at 400% with my 40mm lens, I could see fabric texture in the focus spot. (It wasn't running!)
It's like walking up to a big projection screen and looking at the pixels with a magnifying glass.