
Before you price out another lens, open your menu. Hiding behind plain names like “histogram,” “focus limiter,” and “touchpad AF” are five switches that quietly raise your keeper rate, clean up color, and shave hours off your edit. Flip them once, and your camera stops acting like a bag of parts and starts behaving like a partner. Your next upgrade isn’t in a shopping cart. It’s already in your hands.
1. In-Camera Histogram and Exposure Peaking (Zebras/Highlight Alert)
The LCD lies. Under noon sun, it looks darker than your file; under warm LEDs, it looks richer than reality. A live RGB histogram and exposure warnings give you an objective read on tones and a live tripwire for clipping, so you stop guessing and start placing exposure on purpose. For stills, that means protecting speculars without flattening the scene; for video, it means putting skin at a repeatable level so your grade is consistent from shot to shot. Almost all modern mirrorless cameras have these features.
Think of this duo as your metering assistant. The histogram tells you where your tones sit; zebras tell you when you’ve pushed too far. Used together, they make exposure repeatable across venues, lighting, and cameras, which quietly shaves hours off your edit.
What It Does for Results
- Consistent skin and highlight safety: An RGB histogram prevents silent red-channel clipping on fair skin or sunsets that a luma histogram would miss; zebras at a sensible threshold act as a guardrail, so white dresses and chrome still show texture instead of chalk.
- Faster, cleaner grading: Files exposed to a consistent target require fewer rescue moves. You spend time on look, not triage and avoid the gray, plasticky “recovered” highlight look.
- Reliable video exposure: A “skin” zebra target (many shooters aim in the mid-70s IRE) anchors faces regardless of wall color or wardrobe, while a second zebra at clipping keeps speculars honest.
Setup
- Enable the live RGB histogram: Use EVF/live view and switch to a neutral picture style so the preview reflects your raw intent.
- Turn on zebras/clip warnings: For stills, set near clipping so they appear only on true speculars; for video, set a skin target first, then add a clipping zebra if supported.
- Map a quick toggle: Put histogram/zebras on a custom button so you can confirm exposure instantly in bright environments.
Pitfalls
- JPEG-biased previews: Punchy picture styles exaggerate contrast and push you toward underexposure; monitor with neutral/flat.
- Too-low zebra thresholds: Overeager stripes turn the finder into a distraction and bias you dark. Make zebras a guardrail, not a siren.
- EVF brightness illusions: Trust the histogram/zebras, not how “nice” the screen looks.
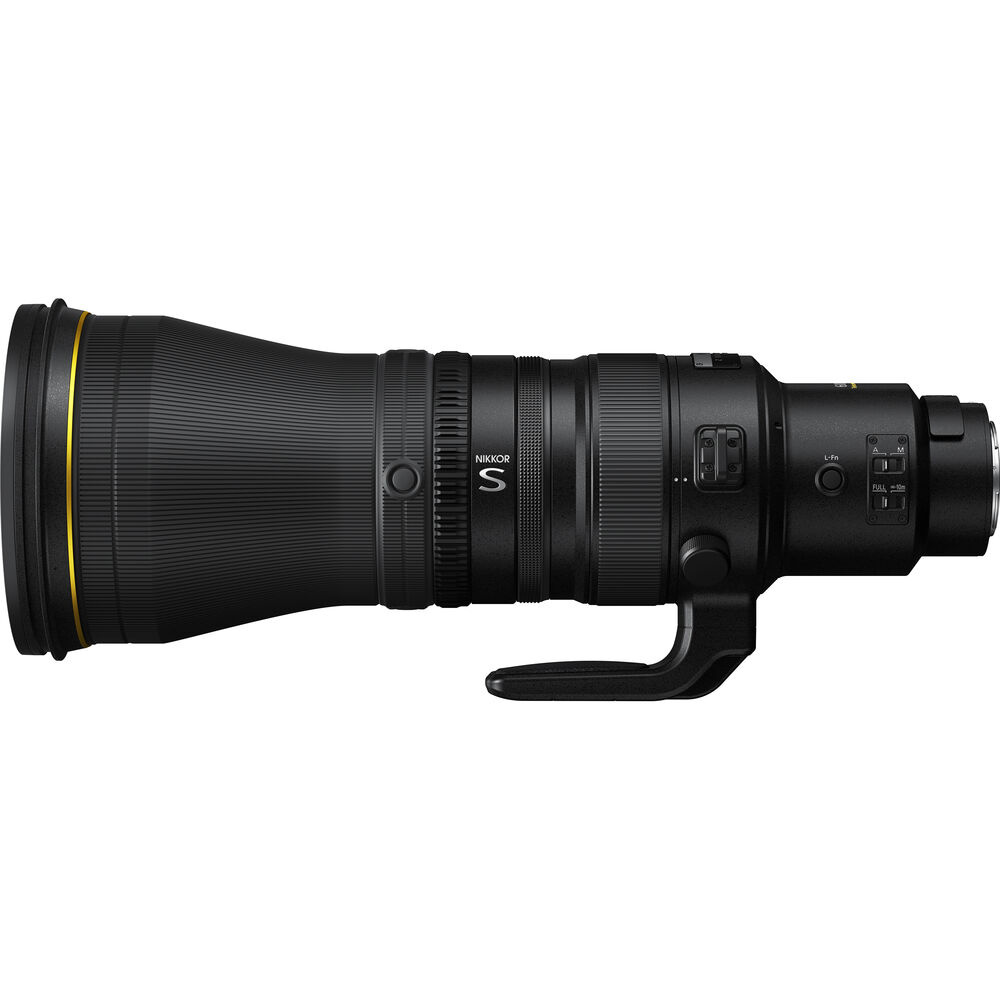
2. Focus Limiter Switch (Lens)
Telephoto and macro lenses often hide a tiny switch that changes everything: the focus limiter. By restricting AF to a distance band (for example, “3 m to ∞”), you stop full-throw hunts when contrast dips or the subject slips behind clutter. The lens reacquires faster, the viewfinder stays calmer, and your keeper rate climbs, especially with long glass where one full sweep costs seconds.
What It Does for Results
- Faster lock and re-acquisition: Cutting half the search range means AF stops raking through useless distances, so it latches on sooner and recovers quicker after occlusions.
- Steadier tracking in clutter: With less “distance to get lost in,” your lens stops diving to minimum focus when a branch, net, or spectator crosses the frame.
- Calmer finder, cleaner bursts: Less hunting means fewer exposure/AF hiccups and more usable frames per sequence.
Setup
- Choose the shortest range that covers your scene: Birds on a perch? Far-range only. Copy stand? Near-range only.
- Tighten your AF area: Small/expand-small keeps the camera looking where the subject actually lives.
- Combine with AF-ON: Back-button focus lets you pause refocus when your subject ducks behind something.
Pitfalls
- Forgetting it’s on: Move in close and AF “mysteriously fails”? The limiter is still set to far-range. Make “flip limiter” part of your move-in/move-out habit.
- Over-restricting the band: If subjects truly cross near and far distances, pick the middle band (or full range) and lean on a smaller AF area instead.
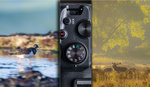
3. Subject-Detection Priority Switch
Modern AF can recognize people, animals, and vehicles, but “Auto” is still a guess. A subject-priority switch tells the camera what to prefer, so it stops chasing the wrong thing in clutter and locks eyes where you want them. Map it to a button (or use “recall on hold”) and you effectively give your camera two personalities you can swap without leaving the finder. This is gold in mixed environments: parks with joggers and dogs, pits with riders and bikes, streets with faces and traffic. Explicit beats implicit; when you declare the target class, the detector becomes a specialist instead of a generalist.
What It Does for Results
- Faster first lock, fewer false locks: Priority shortens the time from “half-press” to “eye box,” and reduces the “it grabbed a mannequin in the background” problem.
- Stickier tracking through occlusions: With the right class selected, AF is more willing to re-acquire your intended subject after brief blockages.
- Precision on demand: Pairing priority with a smaller AF area gives you surgical control when composition gets busy.
Setup
- Default to your main subject: For example, people and wide tracking.
- Map a button to switch or recall: Use “Switch Subject” or “Recall (Hold)” with three baked changes: subject type (Animals/Vehicles), AF area (small/expand-small), and a slightly faster minimum shutter.
- Practice the cadence: Hold for the alternate behavior, release to return—no menu dives, no second body.
Pitfalls
- Leaving the area too wide: Even with the right class, a giant AF zone invites the camera to pick a different target. Shrink it when precision matters.
- Tiny subjects at distance: Detection needs pixels. If the subject is small in frame, switch to a small area and aim center-mass first.
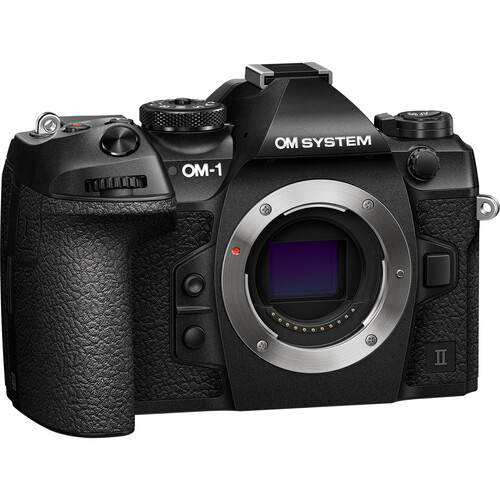
4. Pixel-Shift High-Res (Resolution and Fidelity)
Pixel shift is not just “more megapixels.” By moving the sensor in sub-pixel steps and merging frames, the camera samples full color at each pixel position instead of guessing colors through demosaicing. The payoff is visible even at normal output sizes: cleaner color, smoother gradients, lower moiré on fabrics and brick, and crisper micro-contrast that tolerates sharpening without halos.
 Modern implementations are friendlier than their reputation. Motion-correction modes can ignore moving leaves or water; some bodies even offer handheld pixel shift. Treat it as a quality mode for product, artwork, macro, architecture, and meticulous landscapes. You are not just making a bigger file; you are making a truer one.
What It Does for Results
- Measured color, not interpolated: Fine textures (hair, fabric weave, thin type) render with fewer color errors and less shimmer; gradients in paint, glass, and sky look smoother instead of banded.
- Sharper edges with gentler sharpening: Because detail is real, you need less aggressive sharpening, which keeps edges clean and natural.
- Moiré reduction at the source: Better sampling suppresses aliasing on repeating patterns, so you fix less in post.
Setup
- Lock it down: Tripod, remote or 2-second timer, electronic first-curtain (or full electronic) to eliminate vibration; turn IBIS off on a solid support.
- Standardize the set: Base ISO, locked white balance, neutral profile, constant lighting. Enable motion correction if the scene has any drift.
- Cover yourself: Make one normal raw and one pixel-shift capture; confirm your editor supports the merge or export high-bit TIFF/DNG from the maker’s utility.
Pitfalls
- Wind and water: Rapid motion can still break merges. Use motion correction, shield the subject, or wait for a lull.
- Workflow surprises: Some systems write proprietary files. Verify software support before a client day.
- Expectations: Handheld pixel shift helps, but it is not a substitute for a locked-down set when you need perfection.
5. Touchpad AF While Using the EVF
Walking a focus point with a joystick is slow and breaks flow. Touchpad AF turns the rear screen into a trackpad while your eye stays in the viewfinder, so you drop focus exactly where the story is without focus-and-recompose errors.
Choose absolute mode for point-to-point jumps or relative for micro-nudges, and restrict the active area so your nose never registers a touch. After ten minutes of practice, your thumb places focus without thinking.
What It Does for Results
- Speed and precision: You move from left eye to right eye or subject to subject in one gesture instead of “joystick walking” across the frame.
- Smoother candid and vertical work: Following diagonal movement is easier, and portrait orientation no longer feels like a penalty box.
Setup
- Enable Touchpad AF/Touch Drag AF: Pick absolute for big jumps (portraits, off-center comps) or relative for fine control (macro, small subjects).
- Restrict the active zone: Use the right half or lower-right quadrant to avoid nose taps; set cursor speed to “medium” until muscle memory kicks in.
- Keep a reset mapped: Assign “Return AF point to center” to a nearby button, and leave the joystick active as a bad-weather fallback.
Pitfalls
- Wet screens and gloves: Conductive touch fails in rain or with thick gloves. Wipe the glass or switch to the joystick.
- Overshooting tiny AF boxes: If you fly past your target, enlarge the box a notch or switch to relative mode for smaller nudges.
- Accidental touches in playback: If you bump stars or deletes with your nose, disable touch during review only.


How are any of these hidden features?
None of these features compare to going out as often as you can, taking photos and experimenting with ideas. If you are taking mediocre photos in the first place, no camera features will get you more keepers.
I heard a quote recently that feels very apt:
'The creative dependency on technology limits the ability of people to innovate.'
All this article is talking about is how to technically get photos in focus and correctly exposed by exploiting automated features in modern cameras. Is that really all it takes to get great photographs? I guess that means people photographing with film cameras don't get keepers, right?
How many cameras and lenses have these features. Especially more inexpensive ones that are novice oriented?
Film cameras have none of these features.