You bought all that autofocus and stabilization for a reason. Don’t handcuff it with a timid ISO. If the choice is “clean noise” or “clean motion,” pick motion every time; blur is forever, noise is negotiable.
Most missed frames at night, in gyms, or at receptions aren’t “high ISO failures.” They’re shutter-speed failures in disguise. Give your shutter the speed it needs, feed the sensor enough signal, and your edits get faster while your galleries look sharper.
Why Photographers Fear ISO (And Why It Lingers)
The bias against high ISO is a hangover from early digital. Fifteen years ago, ISO 1,600 could mean knotty chroma speckle, banding in shadows, and waxy detail after heavy noise reduction. That experience etched itself into muscle memory. Many shooters still hear that old voice when the meter suggests ISO 6,400, and they reflexively drag shutter instead of letting the sensor work. And when you only had a few megapixels to work with, any mild noise reduction turned what little detail you had into pudding.
Culture reinforces the fear. Forum-era habits prized 100% crops on desktop monitors, not real viewing sizes. People compared noise charts like baseball cards, divorced from motion, moment, and delivery. There is also a cognitive bias at play. Noise is easy to see at 200% and easy to blame for a lost image. Meanwhile, motion blur is insidious. Sometimes, you only notice it after export, when edges feel mushy and eyes don’t sparkle. The human brain over-weights visible grain in the edit suite and under-weights the way blur kills micro-contrast on faces, hands, and text. Clients do the opposite: they feel sharpness and gesture first, not grain at phone size.
Motion Blur Is Unfixable, Noise Isn’t
A sharp, slightly noisy frame beats a silky smear you cannot rescue. Camera shake and subject movement erase edge detail no software can re-create; luminance noise, by contrast, responds well to modern denoise tools and moderate sharpening. If you need 1/500 s to freeze a kid sprinting indoors but you stay at 1/125 s to keep ISO low, your gallery will look soft no matter how carefully you process.
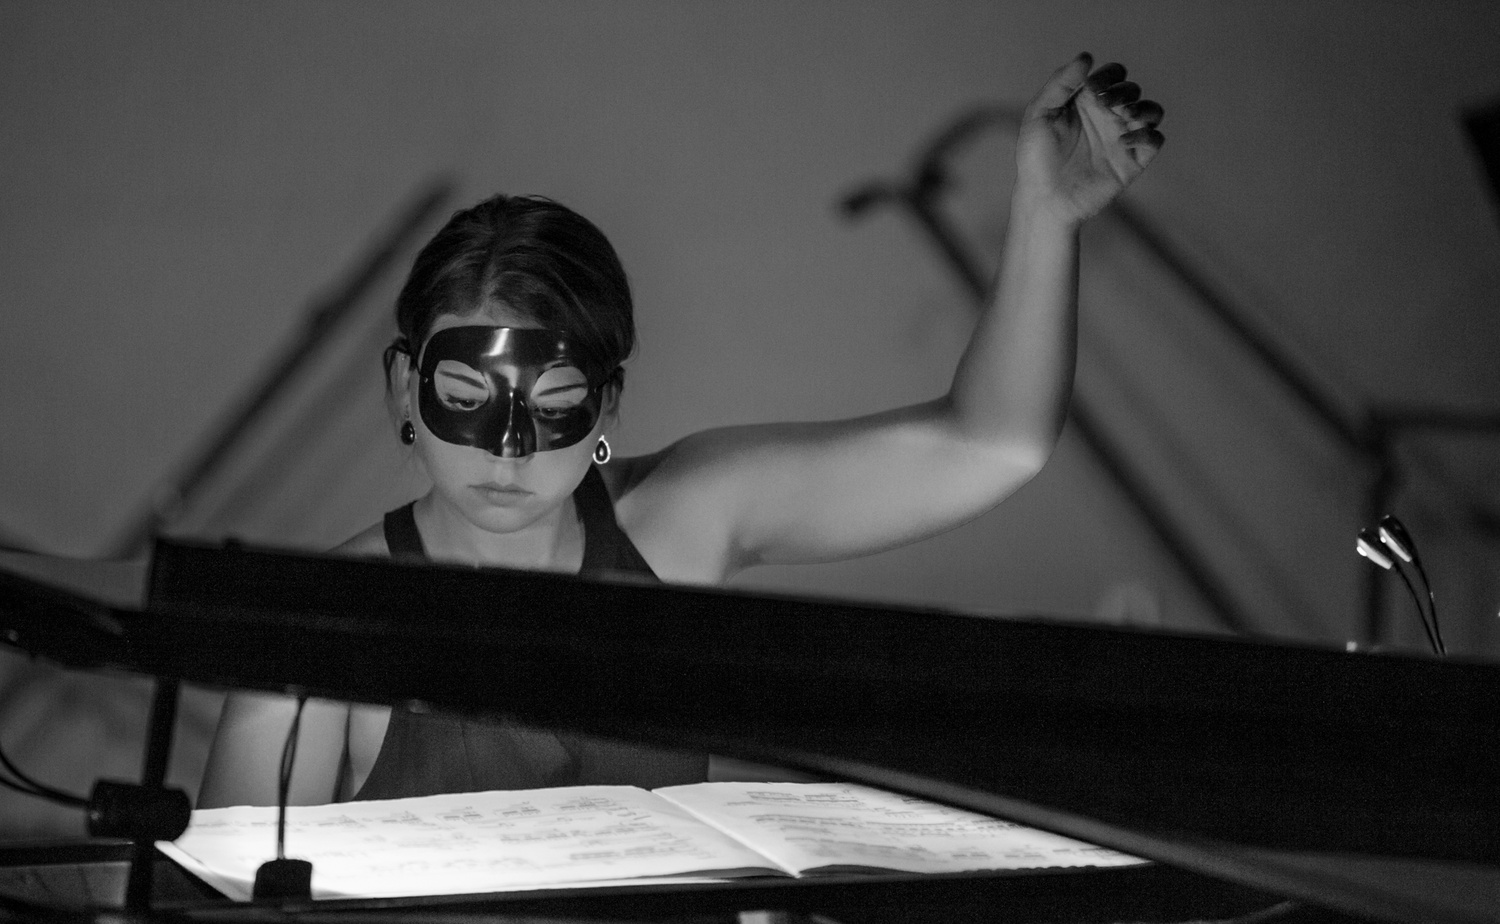 Think about what “detail” actually is: clean transitions along edges at the pixel level. When those edges smear across pixels during the exposure, you do not have detail to recover, only blur to hide. Noise overlays detail but leaves the edge location intact; with a balanced denoise-and-sharpen workflow, you can retain texture and restore bite. That is why a crisp ISO 10,000 frame regularly beats a “quiet” ISO 1,600 frame shot too slow.
A practical example: during a first dance, 1/250 s at ISO 8,000 preserves expressions, hands, and hair highlights; 1/80 s at ISO 2,000 produces a low-noise file that still feels soft. One prints beautifully at 11×14; the other gets buried in the gallery.
Stabilization Isn’t a Freeze-Ray
IBIS and optical IS are brilliant at suppressing your shake. They do nothing for their motion. That is why a 35mm lens at 1/15 s can make a street sign look tack sharp while a walking subject turns to haze. When people, pets, or performers are your primary motion, stabilization is the safety net, not the trampoline. Use the net, but still jump with the right shutter.
A practical baseline helps: about 1/125 s for people standing and breathing, 1/250 s for walking and talking, 1/500–1/1,000 s for kids and casual sports, and 1/1,000–1/2,000 s for fast field or court action. Start there, then adjust for subject distance, focal length, and how much motion you want to show. Stabilization still matters. It calms the viewfinder, helps AF, and reduces micro-shake, but it’s complementary to shutter speed, not a replacement.
There are edge cases. Panning a cyclist at 1/60 s with IS Mode 2 works because your intentional motion aligns with the subject’s direction. Flash can “freeze” a moment if the flash pulse dominates ambient. But as soon as ambient contributes meaningfully (receptions, gyms), you are back to fighting subject movement. The simplest way to win is to raise ISO, keep shutter speed honest, and let stabilization do what it does best: remove your shake from the equation.
Modern Sensors Are Better Than Your 2012 Brain
Today’s 24–61 MP sensors hold together at ISO 3,200–12,800 when you expose sensibly. Color stays believable, skin tones grade clean, and grain is finer than you remember, especially at delivery sizes. Dynamic range does narrow as ISO climbs, but most low-light scenes are low contrast to begin with (ballrooms, gyms, city night), so you are not sacrificing highlight headroom you did not have.
Two advances matter here. First, sensor design: back-illuminated architectures, improved microlenses, and smarter color filter arrays improve quantum efficiency and reduce read noise. Second, processing: modern denoise algorithms protect edges, keep pores and hair, and avoid the watercolor effect that haunted older workflows. Combine that with saner viewing (phones, tablets, 11×14 prints), and the “high ISO look” of 2010 mostly vanishes.
Auto ISO Is Your Friend (If You Configure It)
Auto ISO stops you from riding three dials at once and ensures shutter speed does not sag when the light dips. It is also the best way to separate creative decisions (motion and depth) from housekeeping (sensitivity). Done right, it feels like a quiet assistant defending your minimum shutter while you compose.
Use focal-length-aware minimum shutter so the camera raises the floor as you zoom (for example, 1/60 s at 24mm, 1/250 s at 100mm, 1/500 s at 200mm). Bias the minimum “faster” by one stop for people and two for kids or sports. Cap the ceiling realistically: pick the highest ISO you are comfortable delivering (often 6,400 or 12,800). Hitting that ceiling is a signal to add light or open aperture, not to accept blur.
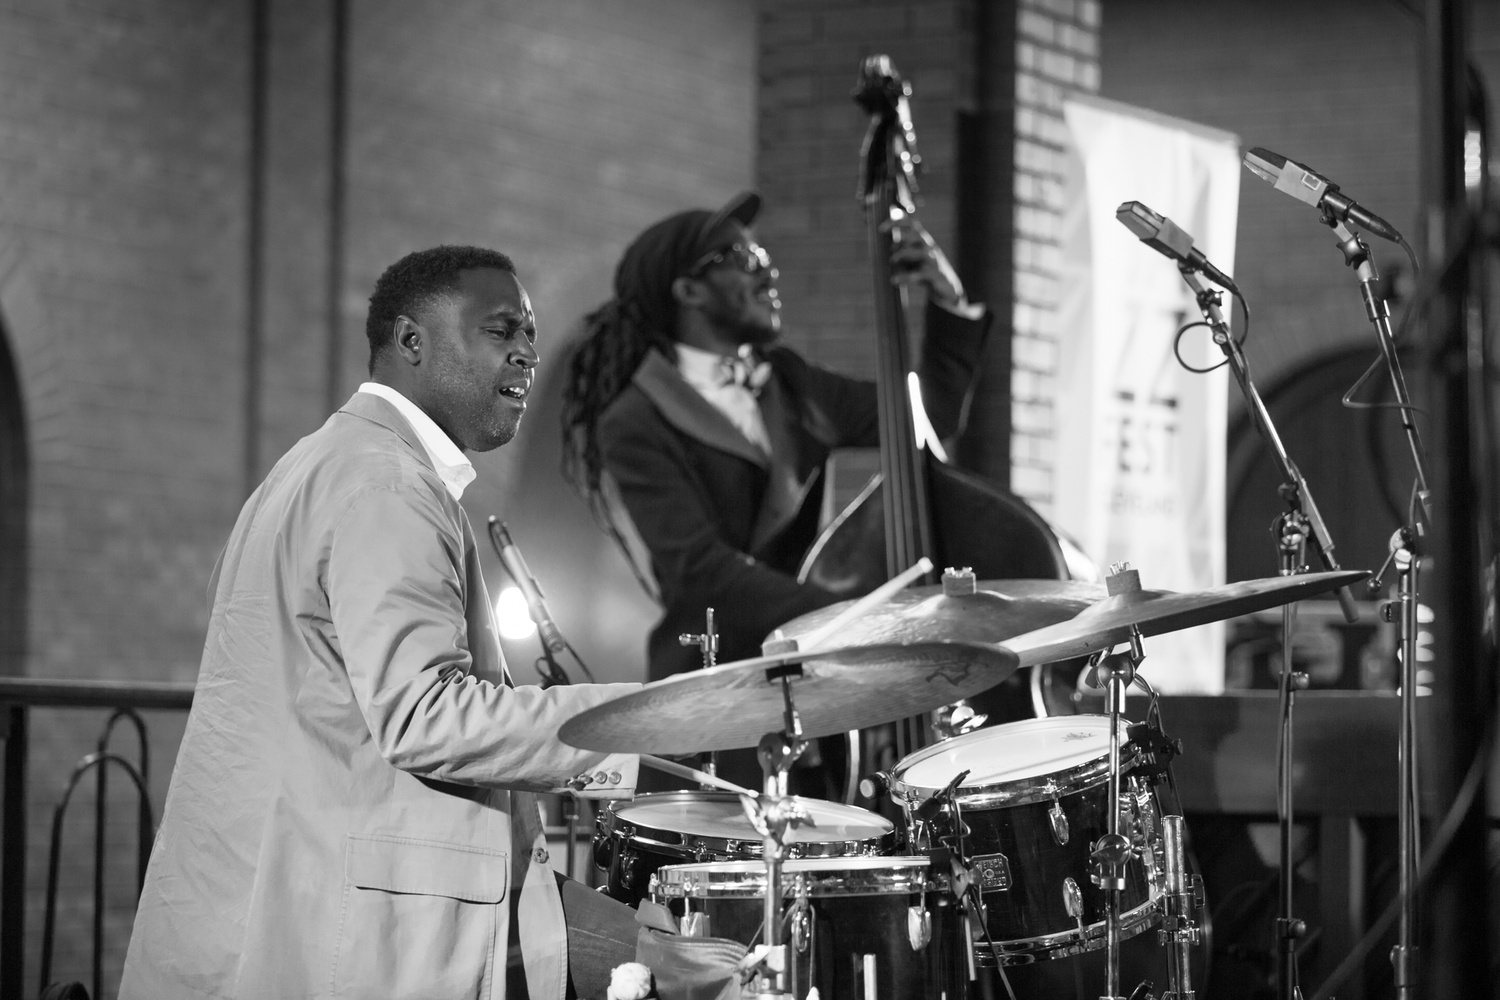 There are two reliable pairings. In Manual mode with Auto ISO, you lock shutter and aperture for motion and depth, then steer brightness with exposure compensation if your camera supports it (many do). In Aperture Priority with Auto ISO, you lock depth, define a minimum shutter, and let the camera do the rest; exposure compensation becomes your brightness dial. Either way, your focus shifts from rescue to storytelling.
'Expose to Protect Highlights,' Not 'Underexpose to Protect Noise'
In low light, underexposing to keep ISO low just starves the sensor; lifting in post reveals coarse noise, dull color, and sometimes banding. You will often get cleaner files by raising ISO enough to place midtones where they belong while still guarding highlights. The histogram (ideally RGB) and zebras are your compass: set shutter for motion, open aperture as needed, and nudge ISO until skin and key tones sit in a healthy zone without blinking.
Think in scene priorities. Highlight-critical scenes (white dresses, chrome, backlit windows) deserve caution, but you can still give midtones real signal at a higher ISO and keep texture in whites by watching the RGB channels for clipping or using zebras and highlight clipping indicators. Shadow-critical scenes (city streets at night, dim clubs) benefit even more from a healthy midtone; if you “save ISO” by underexposing two stops and plan to lift later, you will get coarser noise than if you had shot two stops higher ISO with proper placement.
A simple field method: frame the moment, set the shutter you truly need, pick the aperture you can live with, and then raise ISO while watching zebras and the RGB histogram. If speculars blink, back off one third stop. Deliver that exposure. You will grade faster and keep color depth where it matters: on faces, fabric, and gesture.
Make Noise Look Good
Noise is not the enemy; bad noise reduction is. Start your edit with a sensible denoise pass, then sharpen for edge definition. The goal is to keep texture that looks like photography, not plastic.
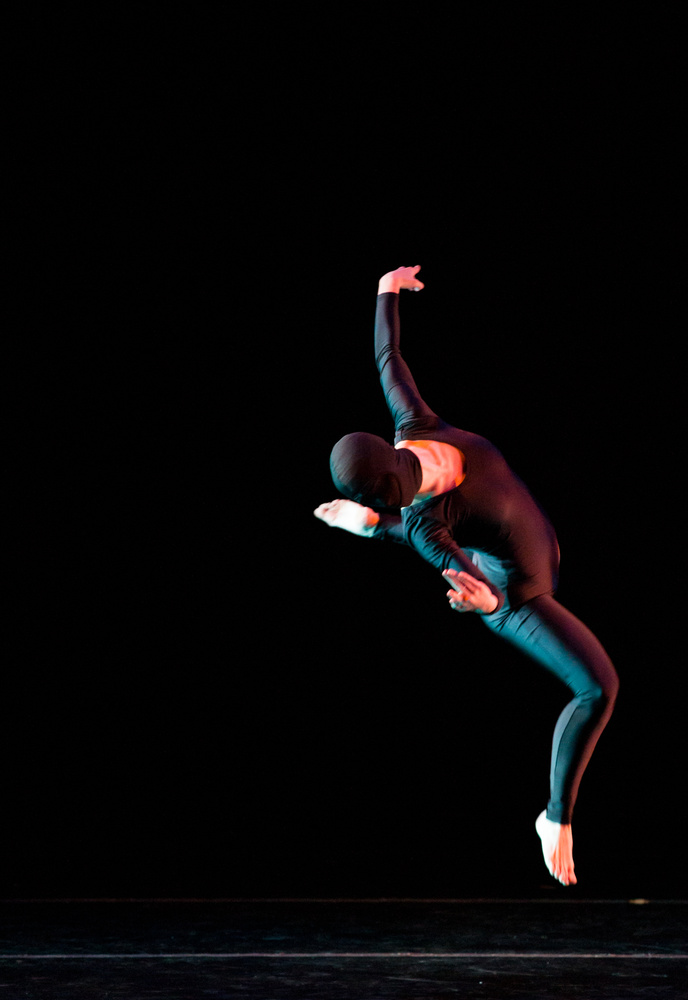 Denoise first, then sharpen. Use moderate luminance reduction, gentle detail recovery, and a smaller-radius sharpen to keep pores and hair believable. Protect color with light chroma noise reduction; too much flattens skin and fabrics. Consider local, masked denoise on smooth backgrounds while leaving detail areas alone; or denoise globally, then add a low, fine “grain” to unify tones after heavy cleanup. Remember that print and web hide noise naturally: grain that bothers you at 200% becomes texture on paper and disappears on phones.
Shoot raw whenever possible. Raw files preserve bit depth and respond gracefully to denoise and tonal moves. If you must deliver quickly, build camera-specific defaults of baseline noise reduction and capture sharpening that land you 80% of the way there on import so high-ISO sets do not become late-night projects.
The One-Time Setup That Solves This Forever
Solve the ISO hesitation once with a simple setup:
- Enable Auto ISO with a minimum shutter that scales with focal length. Start one stop faster than the default for people work so the camera defends motion when you are busy framing.
- Set an ISO ceiling you can live with. Better to hit 12,800 than to miss the moment at 1/80 s; you can tame grain, you cannot fix blur. Revisit the ceiling after testing. Most modern bodies surprise people with how usable 12,800 looks at delivery size.
- Map exposure tools to a button. Put the live RGB histogram and zebras one press away so you place tones instead of trusting the LCD. If your camera allows it, make the zebra threshold easy to nudge so you can adapt to “highlight-critical” vs “shadow-critical” scenes quickly.
- Create two custom banks: “Action” (fast shutter, higher ISO cap, subject-detect tuned for people/animals) and “Ambient” (slower shutter, lower cap, quieter AF response). For hybrid shooters, add a third “Video” bank with fixed shutter values, zebras for skin, and a sensible ISO ceiling for your codec.
Do this once, and you remove the decision fatigue that leads to blurry galleries. Your camera starts defending the settings that protect moments while you concentrate on timing and composition.
When Low ISO Still Matters
There are times to keep ISO down: tripod landscapes, studio product, and long exposures where motion is controlled and you want maximum dynamic range. In the studio, low ISO gives you more headroom for specular control and cleaner gradients in seamless backgrounds. On a tripod outdoors, base ISO plus a longer shutter can pull rich color out of blue hour and give water or clouds the motion you want.
Neutral density filters, sturdy support, and a remote release are the right tools for those jobs. So is flash. When strobes dominate ambient, you can stay low on ISO and use shutter simply to manage spill and background. The point isn’t “always raise ISO”; it’s “match the tool to the problem.” Motion and moments demand shutter speed; controlled scenes invite base ISO and patience.
Bottom Line
Raise ISO without guilt when motion or moment is on the line. Set the shutter for what the subject is doing, let Auto ISO do the heavy lifting, and use your exposure tools to keep highlights honest. Modern sensors and modern denoise make grain a creative choice, not a failure. You can shape noise in post; you cannot re-create a missed expression or a blurred play. If you internalize that, your keeper rate goes up today, and your clients notice tomorrow.



The premise is absolutely correct that it's better to have sharp images with increased noise than unsharp images without noise. There is a prejudice against high ISO but I think that's simply because it's easier and cheaper to shoot than low ISO. Professional solutions are expected to require greater difficultly so even if there are advancements in the quality of high ISO images the prejudice will continue to exist. It's not necessarily a bad prejudice because elite photographers should be better than what is considered acceptable by average people.
Expensive gear and advanced techniques really make a difference. Poor quality lenses at wide open have a lot of vignetting that can slow down proper exposure by 1/2 stop. An expensive lens may only gain a 1/2 stop advantage at the same aperture as a cheap lens but that is already a 50% difference in speed. It's possible to expose for the highlight and light for the shadow to get at least 1-3 stops faster shutter speed than exposing for the shadow alone. Of course, this makes working with available lighting much more difficult and it's harder to frame and compose a scene than when exposing for only the shadow. These examples may be difficult and expensive but are worth doing for people that want to advance beyond what is considered an acceptable level of photographic ability. Of course, nobody has to do it but do most people really get in photography to just be mediocre?